
It would seem that Allcocks had no intention at all of making a classic fishing rod when the Lucky Strike came to the drawing board, rather perhaps, a short handled boys rod.
However, they used quality cane and the tapers just seemed about right for a general purpose rod and the rest is history.
Chris Yates has at least one in his collection and can be seen to use it adeptly in the wonderfully evocative A Passion For Angling. This has perhaps added to the rods mystique and it is now highly prized and sought after by the cane enthusiast.

My rod came into my possession in what can only be described as a dilapidated state, here are some photos of the rod as I received it.


It is my intention to restore this rod, not to the over-restored flamboyant specification we see in some quarters but to a useable 'sympathetic to original' grade, with the slight improvement of agate lined tip and butt rings. This will be my first ever rod refurbishment ( a knackered classic, yep, ol' Gurn's gone in at the deep end ), and I will take you with me on a warts and all journey. I will no doubt make classic beginners errors but hope to take you up to a time when I catch my first ever fish on what will become, hopefully, my most special rod.
The first job in hand was to lay the rod down, section by section, and to mark on paper all of the positions of all the guides, ferrules and intermediate whippings. I used the last length of a near used till roll rescued from the bin at work for this job, laying the roll out trapped beneath a glass at each end, next to the rod , and not forgetting to mark each section (butt, middle,tip) and marking an arrow pointing to tip end on each.
The next task was to remove all the old rings and whippings...
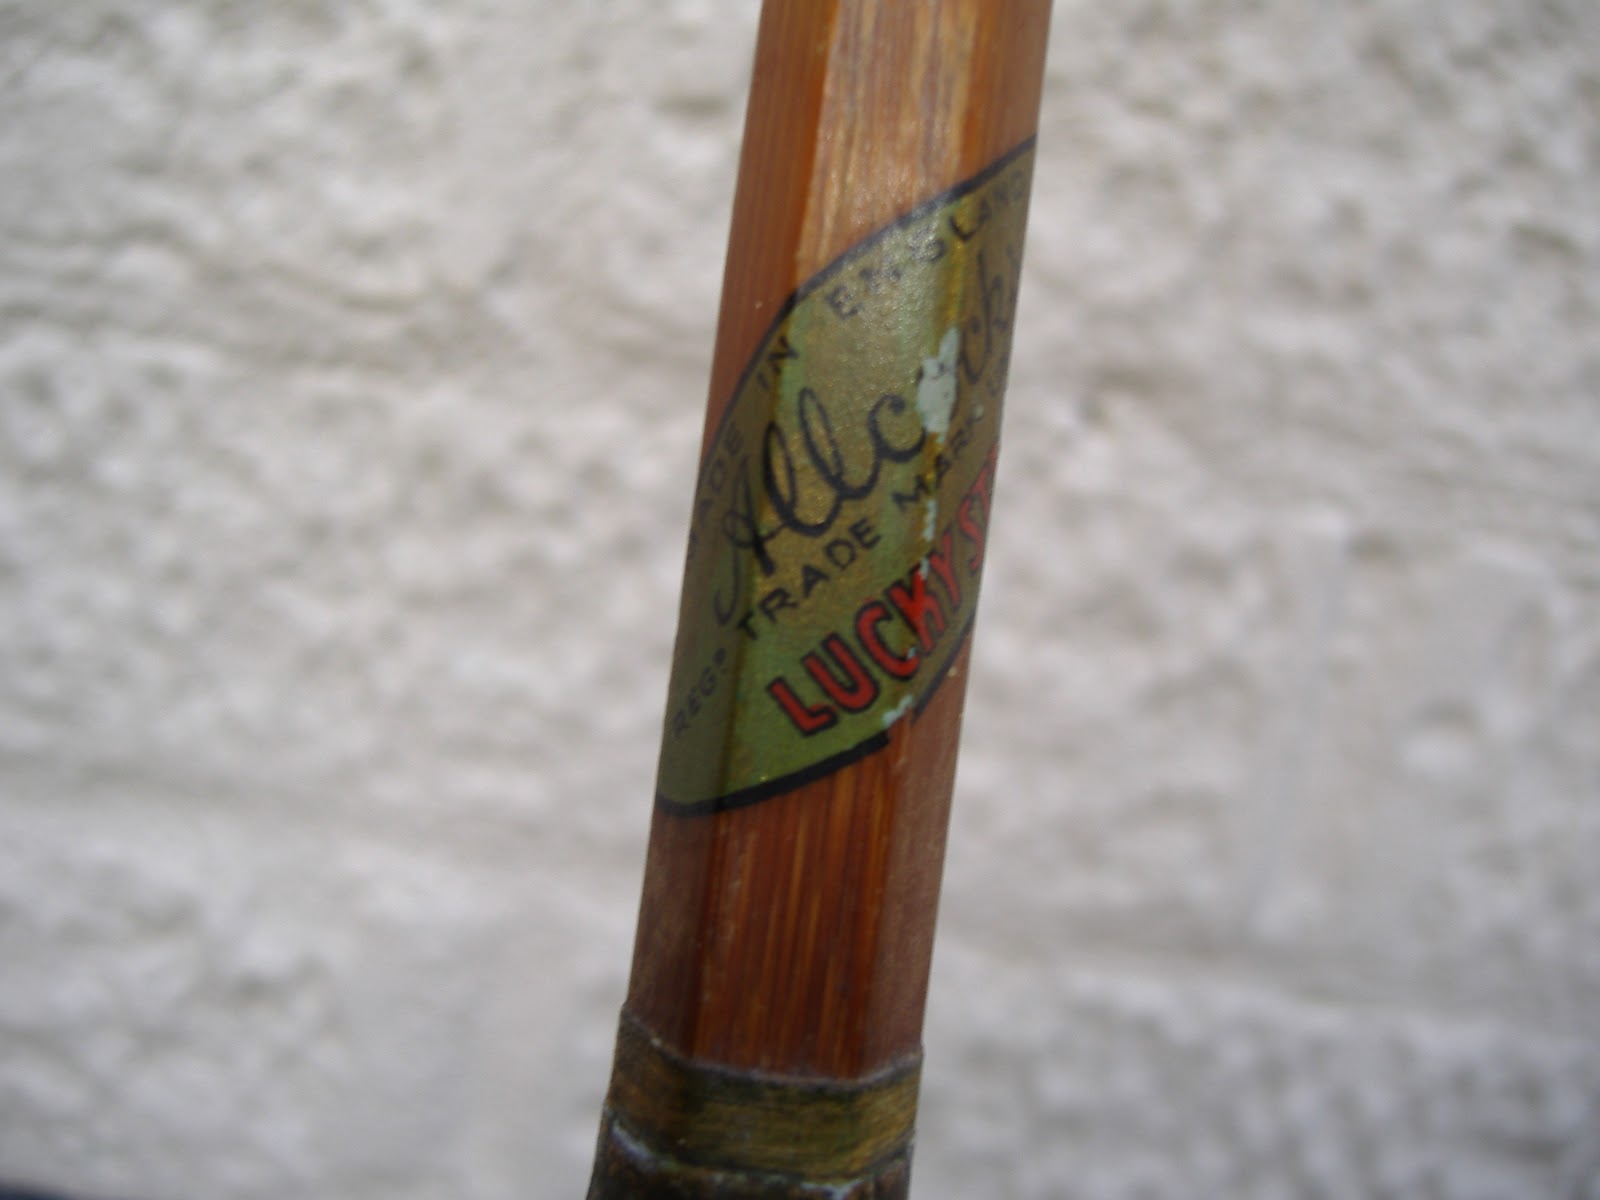
To remove the whipping thread I used a craft knife (scalpel-type). I've seen articles telling that it is best to cut along the thread and pull the whole lot off in one go, this is not the approach I took fearing the possibility of damaging the cane. My chosen method was to nick the thread at the end and unravel taking things very steadily..it worked a treat. It was at this stage that I encountered my first surprise; I know that Allcocks whipped the Lucky Strike in two colourways, early models are all blue and later models yellow tipped with black, and black intermediates, it is, however, not an exact science. Take a look at my photos, I thought that my rod, although an early one, had the yellow and black, that is until I removed them, They are actually blue, the yellow being the degraded varnish. The ferrules seemed to be sound so I left them on, they did however, have some surface corrosion and didn't fit together, this would have to be addressed later.

The next job was to remove the old varnish, I've heard that some people use various stripping potions for this job and that it can be completed quite quickly. I did have some concerns that a stripper might seep into the cane sections and cause de-lamination so I opted for the alternative method of manually scraping it off. I used the back of the craft knife blade for this held against the blank at a right angle. It was much more difficult and time consuming than I had anticipated but I took my time and so far have not had a 'FFS' moment. I was surprised to see that the cane was darker than I thought it would be, I'm guessing that this is a product of heat treatment in the factory. Once the varnish was removed, I used the finest grade sandpaper (not wet & dry) I could find, and smoothed down the whole blank, until it looked like this...

The next thing I tackled was the Allcocks logo, I did smooth the varnish above it by using ultra-fine flour paper and took things VERY slowly. I must admit that I am not sure if it made much difference. Anyway, afterwards I gently cleaned the area with a solution of washing up liquid dabbed gently with cotton wool.
Once everything had dried thoroughly I stabilised the area with a single layer of artist's acrylic varnish...


Here is the logo after restoration, not perfect, but much, much better..I used Faber-Castell Indian ink art pens in gold and black.
This what they looked like at this stage........

I now turned my attention to the cork, once again wire wool was employed to clean fifty years worth of grime away, some advise against this practise (soapy water with a scotchbrite pad or white spirit and rag are alternative methods).....

At this stage the brass was clean and gleaming, some choose to leave it that way, but originally these fittings and ferrules would have been 'blued', I know this because I had cleaned through this layer.
I obtained a product with the impressive name of Birchwood-Casey Brass Black Metal Finish.....

I would imagine that the 'bluing' procedure is much easier to do if all the fittings are removed. As I didn't want to do this, it was a case of masking off the cork and cane around the fittings. I then cleaned the brass with white spirit before applying and even coat of the Brass Black with some of Lady Sarah's cotton buds, I then left it to do it's magic for two minutes (even though it said one minute on the label), the fitting was then rinsed under the tap and patted dry with kitchen towel, five minutes later I polished the fitting with tissue paper......this is a very time consuming procedure and I had to repeat it many times to get the desired colour.
The final finish was slightly patchy but I intend to wax the brass fittings after the whipping process to gloss and even the colour...

....and so, onwards to the whippings. The thread I have used is Gudebrod Nylon Royal Blue in grade D, I hope this will be pretty close to the original.
I don't own one of these all singing and dancing whipping stations, so improvised with an old rod-pod that I never use. When whipping the rod I placed a duster over each rest to protect the blank.


I gave each whip a dowsing of colour preserver as I went along leaving the tag ends of the intermediates on for this first coat, with two more coats to follow.


If I'm honest, I hadn't looked forward to whipping the rod, but it was in fact, the only part of the restoration so far that had been easier than I'd anticipated. Sure, I've done the odd repair before, but intermediates on a tip section, never.
The done thing is to reverse the tip section to even up the fifty years worth of 'droop' the section may have accrued. I must admit that the rod is remarkably straight for its age, and this may sound strange, but after much deliberating, waggling and flexing, the rod 'told' me not to do this, so I didn't.
Also, those 'Luckys' whipped in silk or grade A nylon in yellow and black do look lovely, and I understand aesthetics count for much, with some....but, they're not 'right' are they? Well not for me, or my rod anyway, and that's the important thing here, myself and this rod already have a rapport...and so to varnishing.
Everyone has their preferred varnish and each will tell you theirs is the best to use, the list just goes on and on.
In the end I listened to someone who's rods I'd seen and I trusted and opted for Humbrol gloss.....

First, I gave the whippings and intermediates a couple of coats using a fine brush and allowing two days between coats. It is important to turn the rod for the first two hours of the drying process to avoid runs, for the whippings I did this manually propping each section between two equal height objects and turning them 45 degrees by hand every few minutes. This allowed me to do all three sections at the same time.

For the varnishing of the full sections I was lucky enough to blag a rod turner from a friend, I would imagine the job to be far trickier, but still do-able nonetheless, without one.

You can see that the rod is held in position by three bolts forming a chuck. These are tightened to the male ferrule which has been protected with masking tape. The motor turns at a slow even pace and helps to avoid runs in the varnish.
I found the varnish much easier to work with if the whole tin was submersed to three quarters of the way up in warm water...

Having finally varnished each section, the only job left to do was to wax the brassware. Once again I masked everything, then polished all 'blued' brass with Granville Wax Polish.
There you have it then, my first rod refurbishment went remarkably smooth. It is time consuming, it is, at times tedious, but the sense of achievement is fantastic. Let's see some before and afters then..
 |
| Before |
 |
| After |
 |
| Before |
 |
| After |
 |
Before
|
 |
| After |
 |
| Before |
 |
| After |
 |
| Before |
 |
| After |
 |
| Before |
 |
| After |
 |
| Before |
 |
| After |
 |
| Before |
 |
| After
|
The thing that brings me most satisfaction is the knowledge that this rod has been sitting in a shed for many years, fortune brought it to me, and I have been able to bring it back to life, it will sit on the bankside again, saved from the bonfire and will catch fish again....that pleases me immensely.


Link back to The Traditional Fisherman's Forum....HERE
Not quite blood sweat and tears, but bloody hard work, patience and perseverance, well done :-) I take credit for the cotton buds ;-) X Lady Sarah X
ReplyDelete...and will catch fish again....that pleases me immensely.
ReplyDeleteIt should please anyone with a Soul! Well done! It's pleased me anyway. Thank you for such a clear report and for bringing the "Birchwood-Casey Brass Black Metal Finish" to our attention. Where do you get it from?
Regular Rod
RR The 'Brasss Black' is readily available on ebay...It is time consuming and difficult to get an even finish, but, I think,is a much nicer and more authentic finsh than polished brass..thanks for your comments.
ReplyDeleteLady Sarah.....thanks for the buds x
Thats brilliant, you must have the patience of an angler! I've got a couple of old cane rods in the garage in similiar condition to yours in its original state but I'm not sure I could get them to anywhere near that level of recovery, well done
ReplyDeleteRob
Welcome Rob...as with all of these things, I suppose it is a labour of love, and what better reward. Not only do I now have a rod for life, but the old label bares the immortal words "Made in Enland". I will fish this rod in the knowledge that it is not just the fruit of my own labour. but also my forefathers...give it a go mate.
ReplyDelete*England*
DeleteHere's a tip from my days as a restorer of old master paintings which might well have helped with cleaning the logo decal of old dirt & even varnish. Believe it or not the best solution for cleaning off old dirt and varnish is good old fashioned saliva applied with a cotton wool swab. It's long work and not for the faint hearted but the best restorers, even those working with the most valuable paintings in the world, use it almost exclusively. They even manufacture synthetic saliva for when they run out of spit!
ReplyDeleteThe best way to make a swap is get a load of those flat wooden coffee stirrers and a roll of cotton wool - then push the stirrer into it and rotate it till you have enough wool wrapped on the tip the tear it off. Work it slowly and methodically across the area to be cleaned until it is coming along and then swab it off with deionised water which stops the saliva action in its tracks. Don't leave saliva on overnight as it will dissolve what you don't want dissolved.
It's very effective but so gentle that you may think nothing is happening, but will it eventually come up bright.
A beautiful job and a beautiful rod, very well done and thanks for taking the time to document the build.
ReplyDeleteSK
Nice one Gurn, i hope the first fish you catch with it is a three and a half pound roach.
ReplyDeleteGurn, you are far more adept and patient than I could ever dream of being, that's a cracking restoration job. I'd love to see the pain on your face the first time it gets bent double as you decide "do I heave back or give it some line?"
ReplyDeleteHeave back! The rod will take it ;-)
Well Done Gurn thats quite an acheavment, Most people would have just binned the whole thing, But you have breathed new life back into what looked a real bin job, The work is by the by but the care and love you have lavished on this rod puts you well up in my respect list,
ReplyDeleteCongratulations on a great achievment,
Haha its almost to good to use,
And may never have had a second chance if not for your efforts,
,,,Paddy,,,
Green with envy! Where did you get the rod from in the first place? I've been looking at car boot sales for the perfect rod for years and never have never found it. Top work - very impressed.
ReplyDeleteThanks for the tip Jeff, it'samazing what I have learned from this humble blog..Stu and Tom thanks for dropping by and your words are always welcome.Dave, I fully intend to put the rod through its paces, that's what it was built for...I might break (not best choice of word) it in gently though.:-).Paddy, I have told you before, and will tell you again. You are a true gent...As for Car Boot Sales ? I did pick up a short B.James MK IV last year for a score, sold it for considerably more and kept the original bag for when I buy a correct size one, these opportunities are rare but are still there....regards Gurn
ReplyDeleteExcellent work and should I ever need a restoration job on an old rod [very unlikely] I know who to call!
ReplyDeleteWhere do you buy the old agate lined rings> I have an old Avon and need a butt and tip one?
ReplyDeleteThanks
Kevin
The best places to find agate rings are ebay and tackle fairs like the one at Romsey..Chapmans blanks do traditional style tip and butt guides, alas, not agate lined which I think only a few rod restorers make now. Paul Cook may be worth a try.
ReplyDeleteHey Gurn, check out Erin's blog ;-)
ReplyDeleteIt looks a peach, very well done!
ReplyDeleteThis is wonderful...what a find! And what a gorgeous job you did, breathing new life into her. May you two have many lovely days together....I can't wait to read of your first adventure!
ReplyDelete"Made in Enland"
ReplyDeleteThat reminds me of when a mate of mine decided he wanted a patriotic tattoo across the back of his neck, he called in to see me on his way home and asked what I thought of it, well its ok I suppose but why does it say "Made in Egland? ;)
You inspired me to dig those rods out of the garage, I don't think they are anything special, the split came is Milbro and there is a solid cane with no identifying marks
I know, I know Rob, Lady Sarah was ribbing me about thattypo just the other day,haha..I haven't worked out a way of editing comments yet. I noticed it but couldn't change it. Fortunately the rod has the correct spelling :-)
ReplyDeleteI would have a go at restoring that Milbro if I was you. They are not massively collectable but you will get massive satisfaction from fishing with a rescued rod. It'll always be special...Weirdly, Milbro's most collectable item of tackle appears to be their catapult!
Hi Gurn,
ReplyDeleteI am very impressed with your lovely work!!
Hans
Thanks for dropping in Hans...you are most welcome.
ReplyDeleteGurn
ReplyDeleteWhat a lovely bit of rod, a true pleasure how you bought the old school rod to fish again...
I might have something of big interest to you...
I was given a tackle box of a passed away gentlemen that has old school stuff from well before my time...
I will send u some pics
Thanks
Glen
Thanks Glen, It was definitely a labour of love. I'm always interested to see vintage tackle.
Deletetheintrepidpiscator@hotmail.co.uk